Equipment has to be considered as a complete system: container, main canopy, reserve, pilot chute, bridle, deployment bag, AAD, RSL/MARD, wingsuit and personal experience all need to fit together.
For wingsuit skydiving, USPA recommends, among other things, non-elliptical canopies with reliable openings. For beginners, it specifies a maximum wing loading of 1.3:1. Those figures are not personalized buying advice and do not replace a rigger or instructor. USPA SIM – Wingsuit Equipment ↗︎
A forgiving seven-cell canopy in an appropriate size offers an additional safety margin. Horizontal speed, the large burble and restricted movement make wingsuit deployments more demanding than ordinary deployments.
Before buying, have someone check:
- canopy type and wing loading
- line condition and trim
- pilot-chute size and condition
- bridle length and compatibility
- deployment bag
- container and pack tray (open corners!)
- access to the BOC, cutaway and reserve handles
- compatibility with your current and planned suit
- AAD and RSL/MARD configuration
Remember: in a wingsuit, your speed may fall below the threshold needed to activate your AAD!!!
Packing technique, harness adjustment and modifications to the container belong with a qualified rigger and must follow the manufacturer’s instructions.
Suit design and size
A larger suit may offer more flight performance, but it is not automatically the better choice. More surface area changes how the suit responds, exits and deploys; it can make handles harder to reach and enlarge the burble. For precise slotflying or Acro, a smaller, more agile suit may be more useful than the one with the best glide. What matters is that the suit fits the jump goal and the pilot’s skills.
Fit matters too: a very loose suit may respond slowly to inputs, while a tighter one may respond more directly. When changing models, check exit, handling and handle access again—even if the nominal size is similar.
VOG / audible altimeter
A speaking altimeter can greatly support altitude awareness in a wingsuit. The VOG ↗︎ announces heights configured before the jump.
My personal recommendation for wingsuiting is a VOG or a comparable suitable audible. Better yet, two! It remains only an additional source of information:
- It does not replace a visual altimeter.
- Check the settings before the jump.
- Account for failures, empty batteries and auditory overload.
- Your hard deck and emergency procedures must work without voice prompts.
FlySight
FlySight ↗︎ provides GPS-based flight data and, depending on its configuration, can give real-time audio feedback. After a jump, you can analyze the flight path, horizontal and vertical speeds, and changes in glide, among other things.
It is excellent for focused training goals and debriefs. It is not a substitute for visual navigation or a safe flight plan, though. Do not chase the audio while tuning out the group, your altitude or the airspace. It is primarily a way to observe and analyze your technical performance if you plan to enter Performance competitions. Incidentally, it is never too early to enter a competition. There are usually Beginner and Intermediate categories too. It is a lot of fun, you meet interesting people and you can learn a great deal about the limits and possibilities of your own performance skills.
Cardo and in-flight communication
Communication systems such as Cardo can help in coaching and well-practised teams. They can be used, for example, to make brief corrections or call off a planned manoeuvre.
They must not create a new dependency:
- The jump must still work safely if the connection fails.
- Essential information belongs in the briefing.
- Visual signals remain necessary.
- More speech can increase cognitive load.
- Mounting and cables must be snag-free.
- Use must be agreed with the helmet manufacturer and dropzone.
Cardo was not originally certified specifically for skydiving. Its use in wingsuiting is an adaptation, not a separate layer of safety.
GPS navigation
GPS can help you stay in a lane and analyze flights later. Good navigation, however, starts on the ground:
- wind at exit, opening and ground level
- jump run
- planned flight lane
- defined opening area
- clear ground references
- other groups and their plans
- alternatives for a long or short spot
- possible off-field landing areas
Technology must not replace looking out of the formation and into the airspace.
360° camera and video
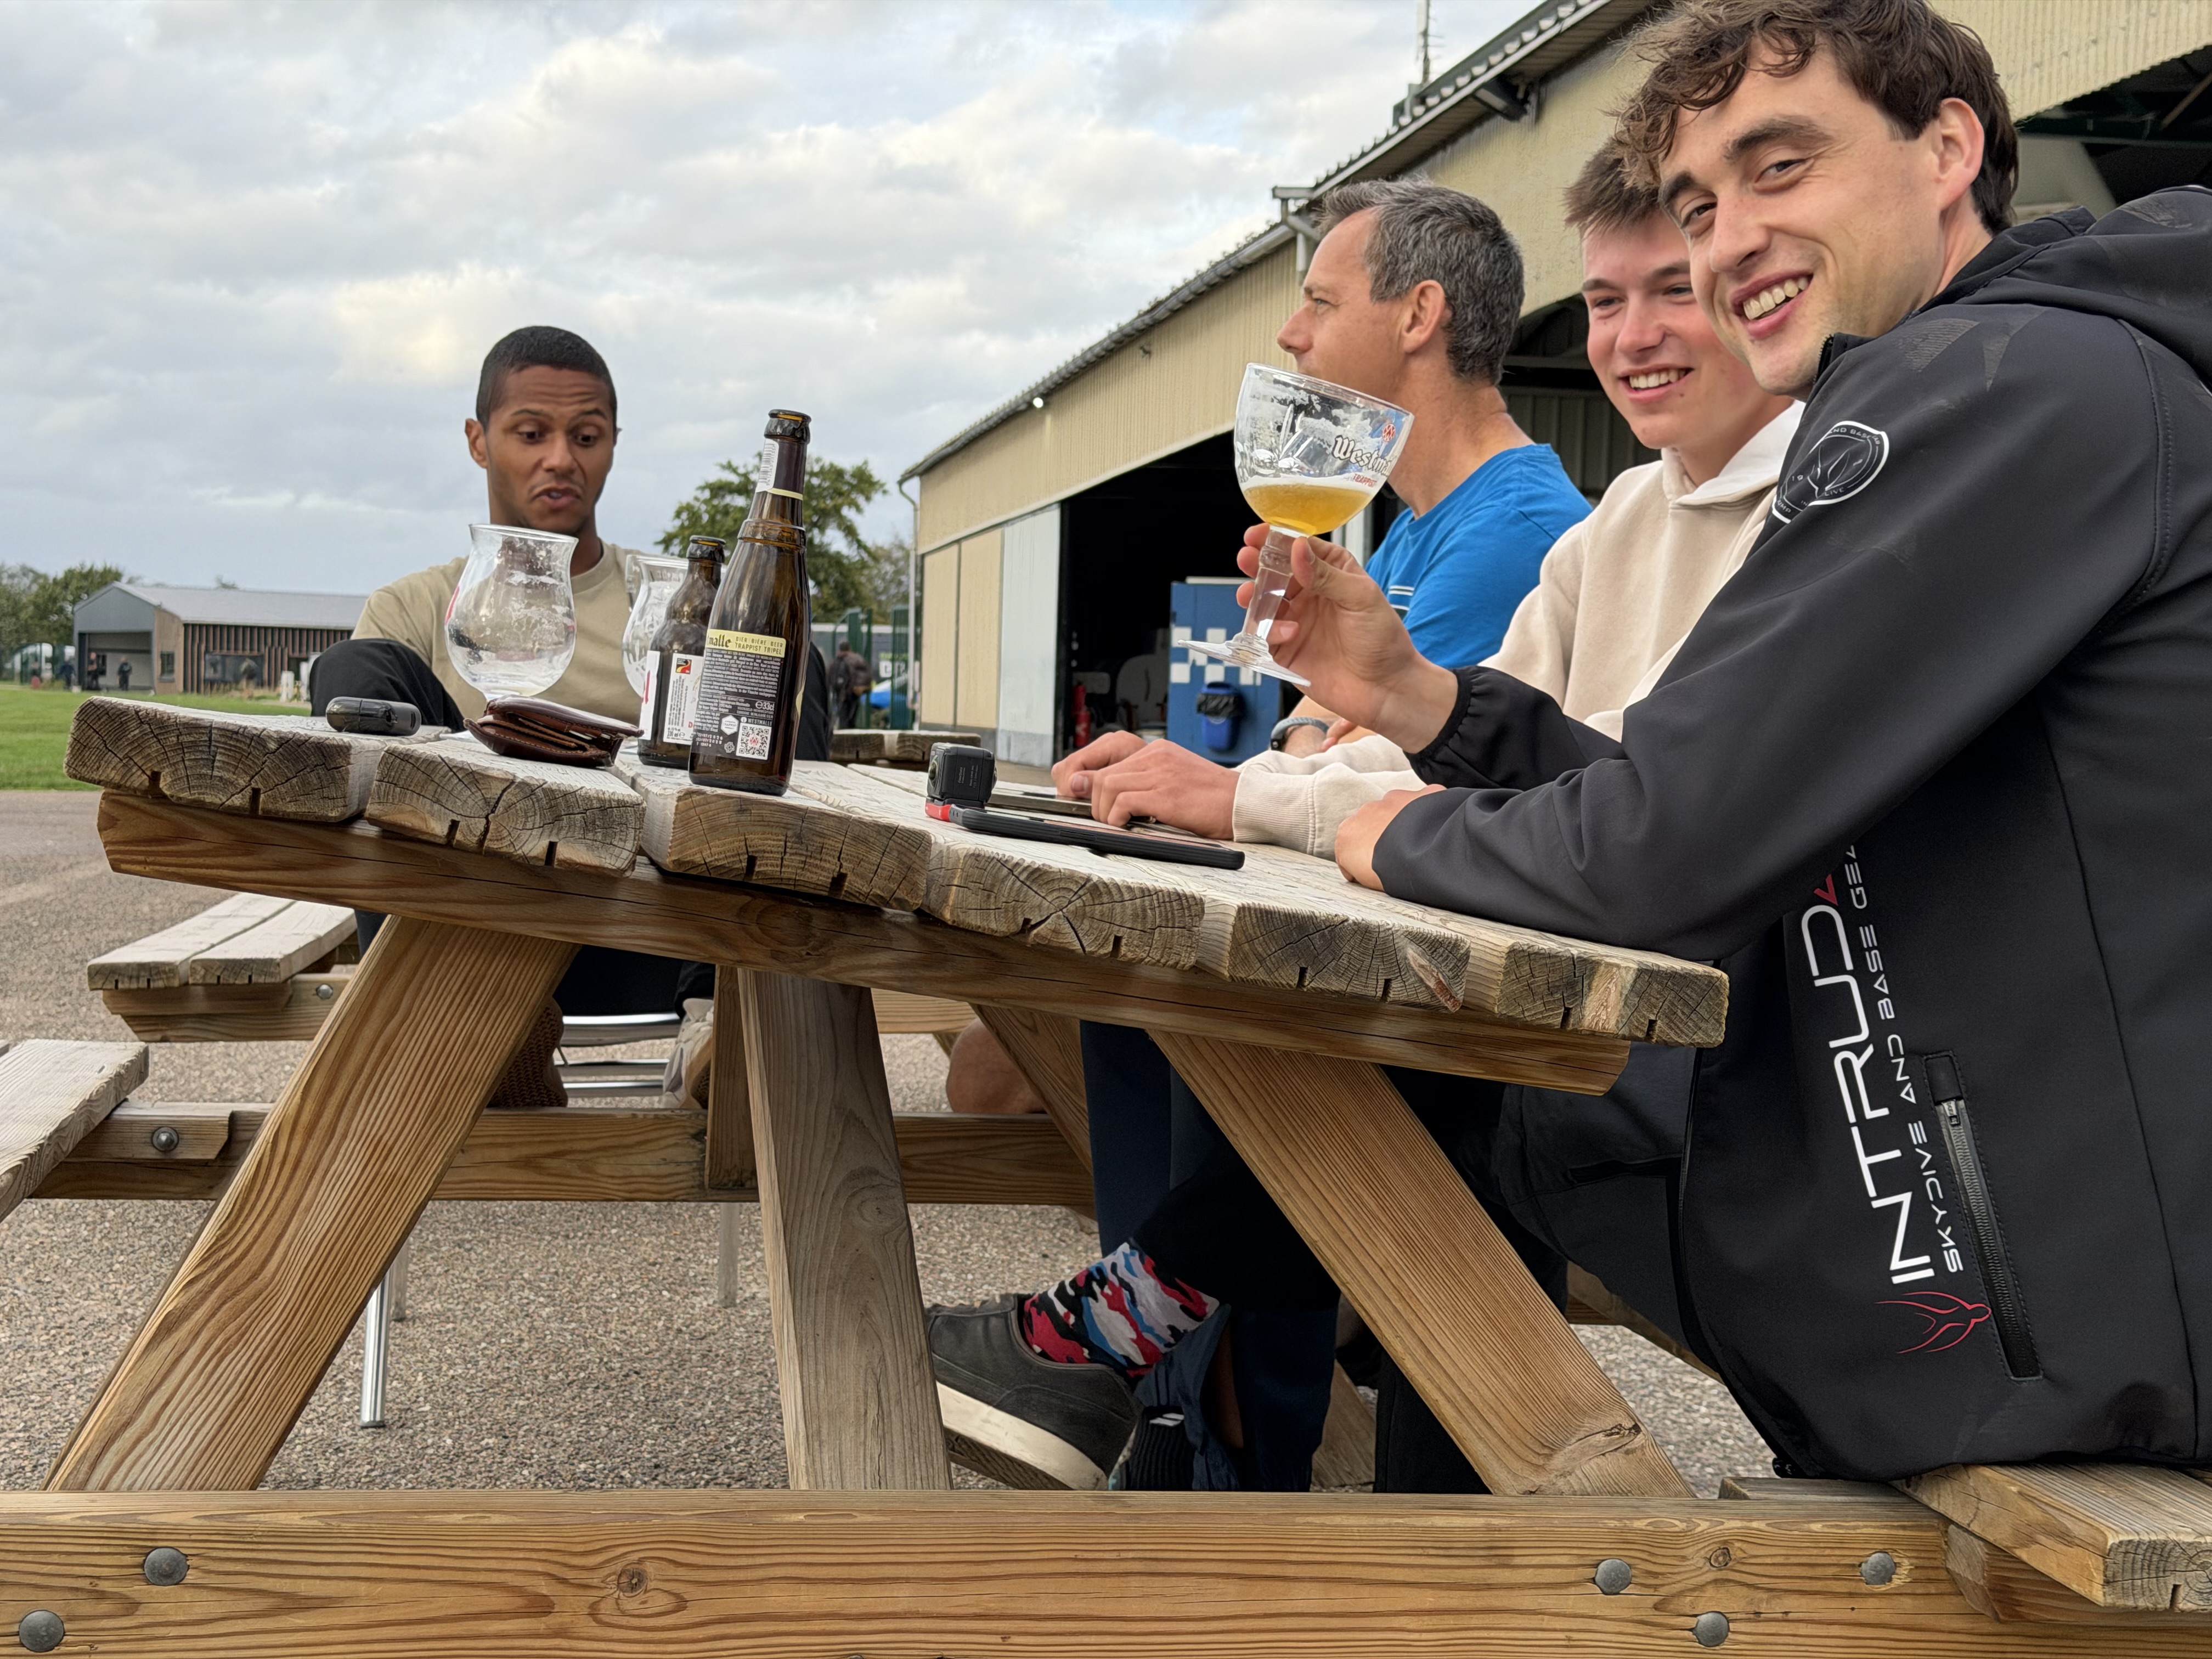
Video can be immensely valuable. A 360° camera often shows deployment asymmetry or dangerous behaviour in a blind spot that went unnoticed during the jump.
Still, not every beginner should jump with a camera straight away. USPA recommends waiting until exits, flight and deployments are stable, consistent and routine. Mounting, line-snag risks, operation and distraction all need to be considered. USPA SIM, Section 5 ↗︎
If you jump with a camera safely and in accordance with the rules:
- Watch the whole jump, not only its best seconds.
- Analyze the exit, formation, blind spots, separation and deployment.
- Pay particular attention to people you did not see during the flight.
- Discuss anything notable respectfully with those involved.
- Use video alongside a coach, not as a context-free self-diagnosis.
That way everyone can learn, and dangerous patterns do not go unnoticed.